


Using OEM-certified replacement parts is crucial for maintaining vehicle quality and safety. Before repairing, prepare a detailed checklist of tools and protective gear. Installation requires a meticulous process following manufacturer guidelines for secure, aligned fits, concluding with functional and aesthetic verifications.
Installing OEM-certified replacement parts is a crucial step in maintaining vehicle performance and safety. This comprehensive guide delves into best practices, ensuring quality and compatibility of these original equipment manufacturer (OEM) parts. From preparing essential tools and taking safety precautions to a step-by-step installation process, our article offers a seamless roadmap for successful OEM-certified part replacements.
- Understanding OEM-Certified Parts: Ensuring Quality and Compatibility
- Preparation: Gathering Tools and Safety Precautions
- Installation Process: Step-by-Step Guide for Seamless Fitting
Understanding OEM-Certified Parts: Ensuring Quality and Compatibility

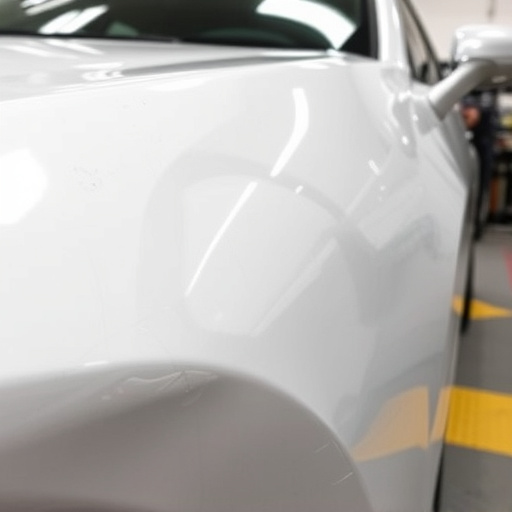
Understanding OEM-Certified Parts is paramount when it comes to ensuring quality and compatibility for your vehicle. These parts are specifically designed and manufactured by the original equipment manufacturer (OEM), guaranteeing they meet the exact specifications of your make and model. When you opt for OEM-certified replacement parts, you’re choosing a level of precision and reliability that aligns perfectly with your vehicle’s design, offering both optimal performance and safety.
For those relying on fleet repair services or collision repair services, this is especially crucial. Automotive repair professionals understand the importance of using genuine OEM-certified parts to ensure repairs are not only effective but also long-lasting. By selecting these certified parts, you contribute to a seamless restoration process, minimizing potential issues and ensuring your vehicle continues to operate at its peak performance.
Preparation: Gathering Tools and Safety Precautions

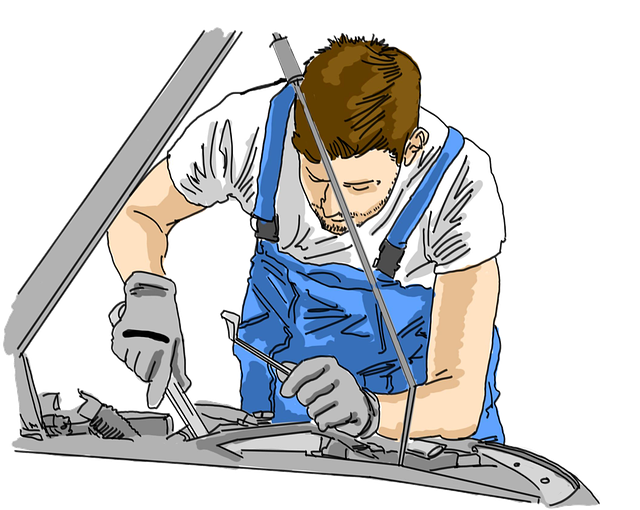
Before tackling any car damage repair or vehicle restoration project, it’s essential to prepare and gather the necessary tools and safety equipment. This step is crucial for ensuring a smooth installation process and achieving optimal results with your OEM-certified replacement parts. Start by creating a checklist of all the required tools, which may include basic hand tools like wrenches, screwdrivers, pliers, and a torque wrench. For more complex tasks, you might need specialized equipment such as a paint gun, sandpaper, and protective gear like gloves and safety goggles.
Safety should always be at the forefront of your mind. Ensure your work area is well-lit and organized to prevent accidents. Consider setting up a workspace that allows for easy access to all tools and parts. Additionally, familiarize yourself with the specific safety precautions related to auto painting and vehicle restoration, as these processes often involve hazardous materials and equipment. Taking the time to prepare adequately will pay dividends in the long run, ensuring a more efficient and safer installation of your OEM-certified replacement parts.
Installation Process: Step-by-Step Guide for Seamless Fitting

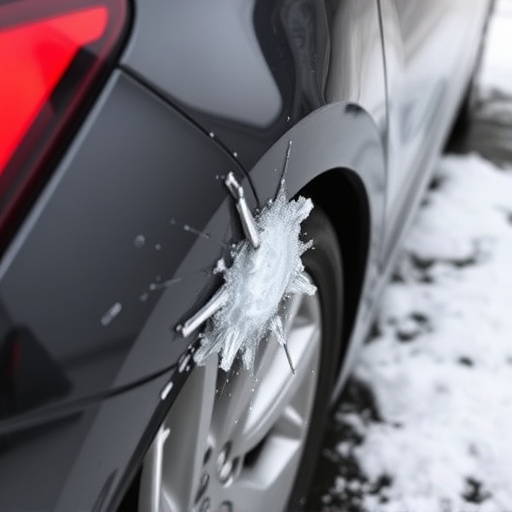
When it comes to installing OEM-certified replacement parts, a step-by-step approach ensures a seamless fit and high-quality finish. Start by gathering all necessary tools and components, double-checking their compatibility with your vehicle model. Next, prepare the surface area, ensuring it’s clean and free of debris or previous repair residue. This foundation is crucial for long-lasting adherence.
Proceed with careful disassembly, removing any damaged or obstructing parts to gain access to the specific area requiring repair. With all components identified and ready, begin the installation process, following the manufacturer’s guidelines precisely. Use proper techniques and tools to secure each part, ensuring tight fits and proper alignment. Final checks should include verifying the part’s functionality and aesthetics, confirming it matches the standards of a top-tier vehicle body shop or vehicle dent repair service.
When installing OEM-certified replacement parts, proper preparation and a step-by-step approach ensure a seamless fit. By understanding part compatibility, gathering essential tools, and taking safety precautions, you can confidently enhance your vehicle’s performance while maintaining its integrity. These best practices empower car owners to make informed choices when selecting and replacing components, ultimately contributing to a safer and more reliable driving experience.